FreeCRM
Documentation
Data collection Forms
FreeCRM allows you to construct elaborate forms that can be placed online, embedded into your website, or sent directly to contacts. These forms can be designed to either create new contact records or update existing ones upon submission.
The forms can then be sent directly to contacts, embedded in your website or given to anyone to complete in any way you find works best.
Creating forms
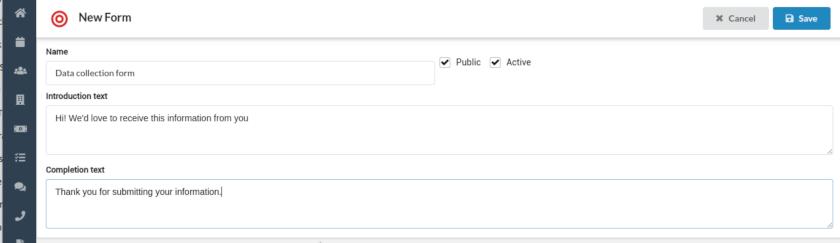
To create a new form, open Forms from the main navigation and click the Add button. Start by choosing the form name, then optionally add welcome text and completion text.
You can also decide whether the form is public or internal. Public forms can be shared with anyone. Internal forms are designed for internal workflows such as call scripts inside call records.
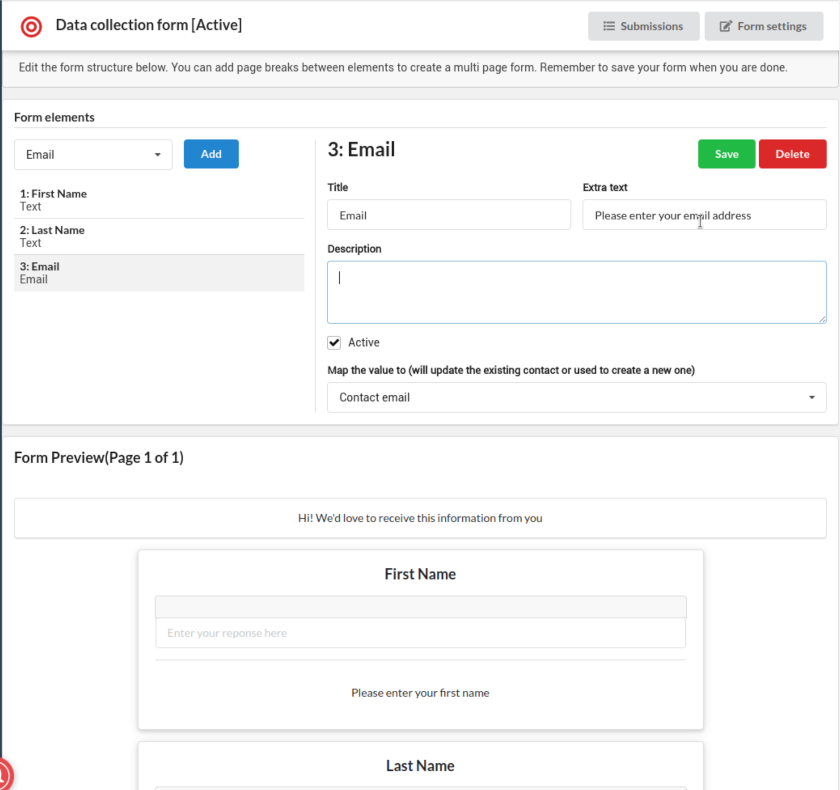
Once the form exists, add the fields you want to collect. In the example below the form captures a person’s first name, last name, and email address. Each field can be mapped to the relevant CRM field. In this example, the email input is mapped to the contact’s email field.
A live preview is shown underneath so you can see how the form will appear.
Once completed the form can be used in different ways:
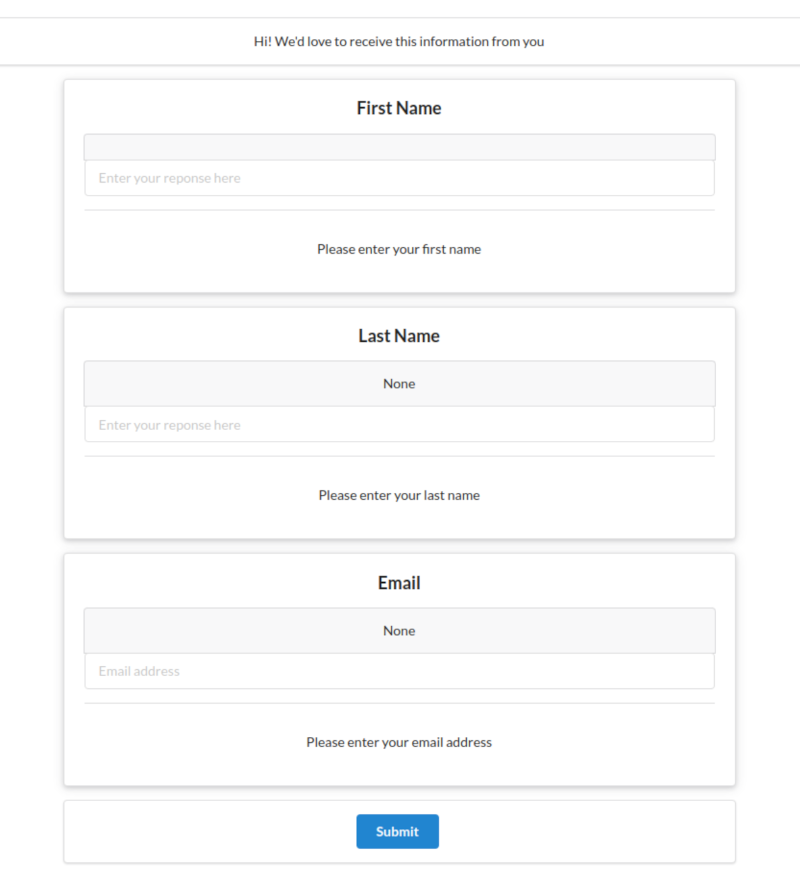
This form can be published as a link, embedded in your website, or sent directly to specific contacts.
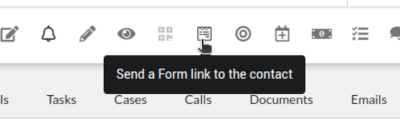
When a form is sent to a contact and its fields are mapped to contact fields, the submission updates that contact record. This is useful when you want to collect fresh information from an existing contact or ask follow-up questions related to your service.
If a form is completed without a contact context, FreeCRM creates a new contact.
Publishing and embedding
A form can be put in front of people in several ways:
- As a link — send the form’s public address to anyone, or put it behind a button or QR code.
- Sent to a contact — the submission updates that contact rather than creating a new one.
- In an iframe — the quickest way to put a form on a page, with no development work.
- Embedded in your page — the form renders as ordinary HTML inside your site and inherits your own fonts, colours and spacing, with no iframe.
- Your own markup — you write the form exactly as you want it and we handle validation, submission and errors.
- React, Vue or JavaScript — for single page applications that manage their own mounting.
Ready-made snippets for each of these are on the form’s Settings page under Embed this form; each one already contains your form’s id and fields. See Embedding Forms for the full detail of each method, including styling, error handling and the settings that apply to all of them.
You can see all the data submissions related to a form, with links to the generated contacts, if applicable:
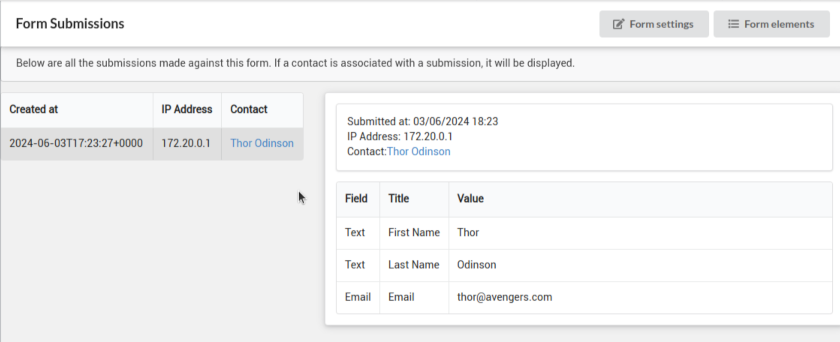
Forms can be a very powerful tool to collect and update data from your customers and contact base.
Collecting files
A File Upload field lets people attach a file to their submission — a signed document, a photograph, a completed questionnaire.
When you add the field you can control what may be uploaded:
- Allowed file types — any combination of Images, Videos and Documents. Ticking nothing accepts any file.
- Maximum file size — in megabytes. Left empty, the platform limit of 500MB applies, which is also the ceiling: a field cannot be set higher.
- Tags — applied to the document that is created, so uploads from this form are easy to find later.
On submission the file becomes a Document in your account, named after the uploaded file (without its extension) and linked to the contact the submission created or updated. It appears on the contact’s Documents just like anything else you upload there, and the submission itself links to it.
Files can be collected through every method: the hosted page, an iframe, the HTML embed, and your own markup — where you can also attach a file your own code generated rather than one the visitor picked. See Embedding Forms.
Keeping out spam
Two settings on the form’s Settings page guard public forms:
- Captcha — asks visitors to pass a reCAPTCHA before the form can be submitted. We recommend leaving this on for any public form; without it, expect spam submissions. It works on embedded forms as well as the hosted page, and the check is enforced by the server, so it cannot be bypassed by removing it from the page.
- Allowed websites — restricts the form to a list of sites. Left empty, the form can be embedded anywhere. When set, it controls which sites may load the form, which may submit it, and where the captcha may be solved — so list every site you embed the form on.
Note about field mapping
When creating forms you can map fields across to their contact or company counterparts. Some fields are complete, like when adding an Address field, you can map it to the contact address and it would contain a full field set for an address (street, city, etc.). You can also use partial address components like City, State or Country and map those individually to address fields.